Showing posts with label homemade fun. Show all posts

Monday, October 18, 2010

Jello Sensory Activity

I am NOT a fan of Jello but I kept thinking that I could let L have lots of fun with it, and perhaps not present it as food. I made two batches of Jello and poured it into a large pan and when it hardened, I brought out the colored rice and noodles, and cookie cutters and just let him have a go at it!

Never once did he try to eat it but he did as I hoped have a blast with it!

Just starting to experiment.
 He pushed the noodles into the Jello and LOVED that it got stuck in there! He didn't mix it all up for a long time. He just kept experimenting with the noodles and rice. It was fun just to watch him.

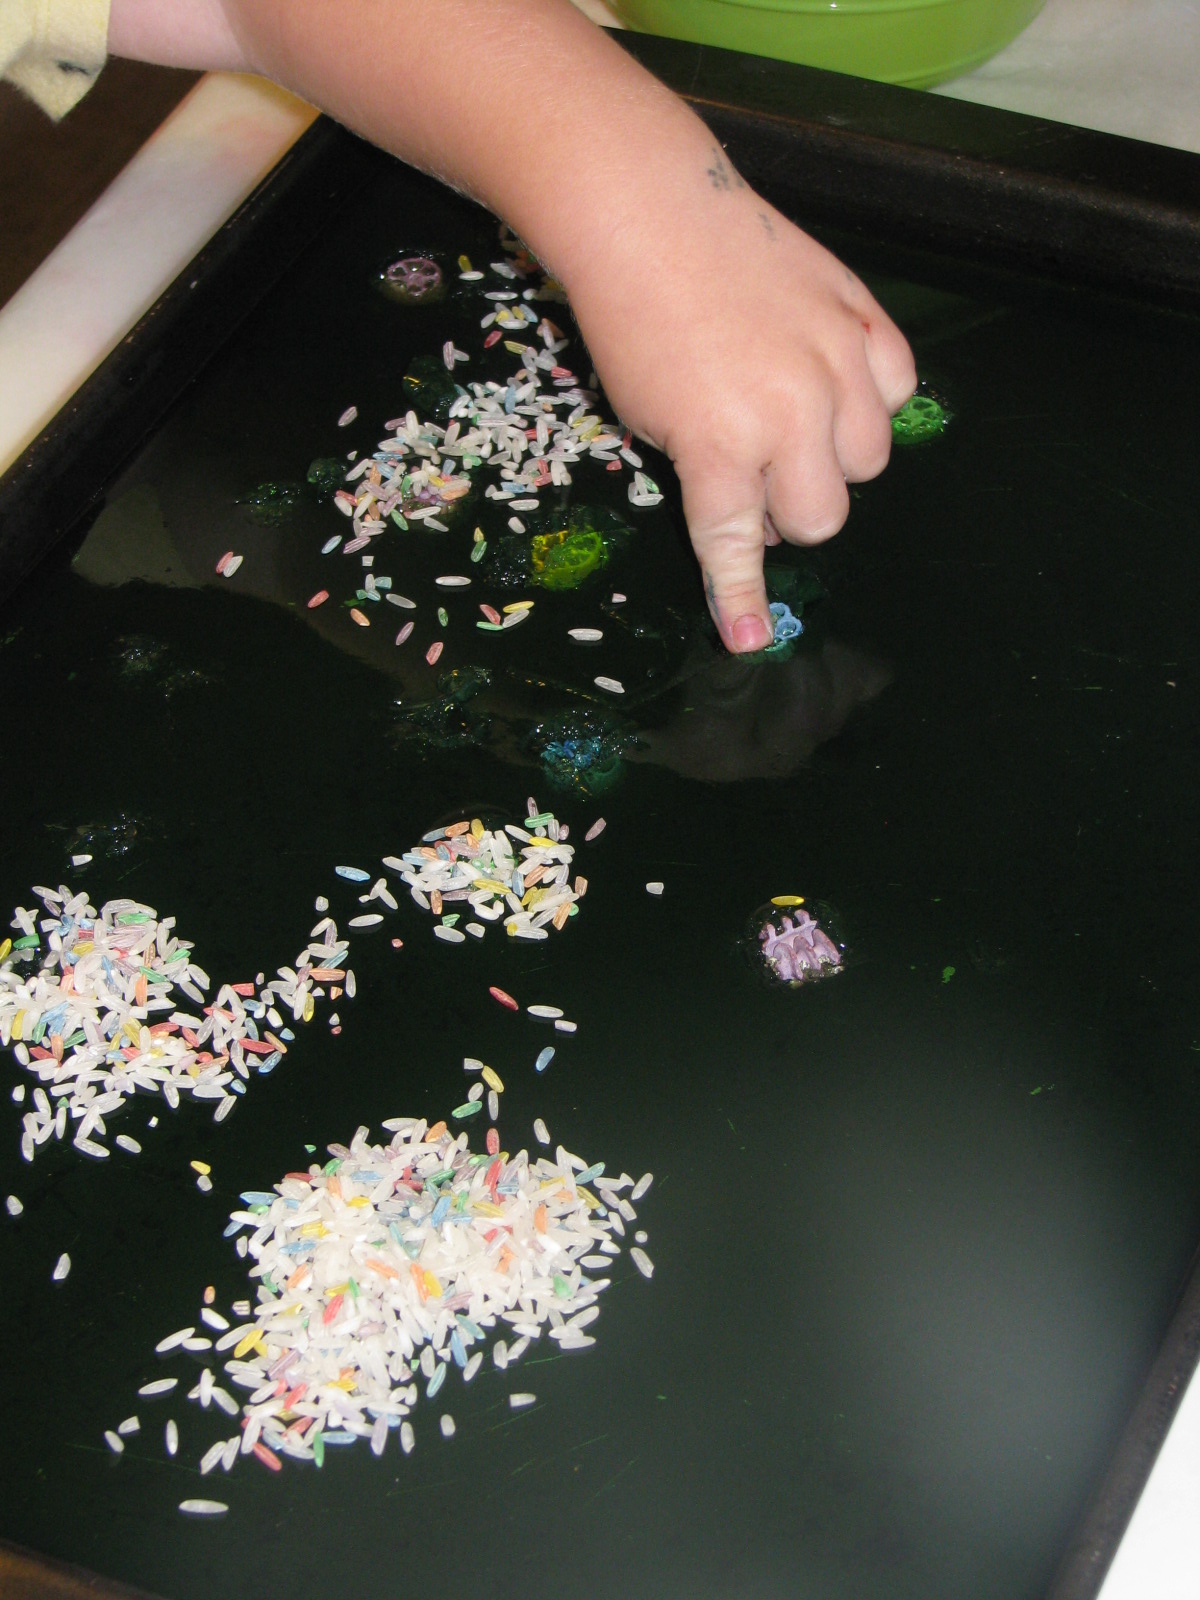


After it was all mixed up he called it "garbage" and pushed it around with his cookie cutters using them as
bulldozers. He put this frog in the middle and told me the frog was sitting on top of the garbage.


Follow Play Create Explore on Pinterest!
Follow Me on Pinterest
More Ways to Follow the Fun!


Wednesday, September 8, 2010

Make Your Own "Dinosaur Egg" or "Treasure Rock" with Coffee Dough


You can call these "dinosaur eggs" or "treasure rocks"
but one thing is for sure...
your kids will LOVE them!


My son is VERY much into Dinosaurs and so I recently had a dinosaur themed playdate for L's pals. I made these dinosaur eggs as playdate favors for the kids who came.

What you Need
(This recipe is for a small batch. I quadrupled this recipe to make lots of dino eggs)
    •1 cup flour
    •1 cup used coffee grinds.
We don't drink coffee so I called Starbucks and asked them to save me some coffee grinds. They saved me an hour's worth, which was PLENTY!

•1/2 cup salt
•1/4 cup sand
•3/4 cup water
•mixing bowl
•small plastic toy dinosaurs or other treasures
I used small plastic dinosaurs and plastic diamonds


What you Do

Make sure you've dried out your coffee grinds beforehand.
 I let it set out overnight. Our house smelled delicious!


1. Mix all the dry ingredients together in a mixing bowl.
2. Slowly add the water and knead with your hands until the mixture is like bread dough.
(You may need to add more flour and sand to make it a dough-y consistency.
 I added MUCH more flour and sand and it still baked out fine)

3. When the Coffee Dough is at a very moldable state, shape your "dino eggs" or "treasure rocks" however you'd like. If you are putting trinkets in them, youll take your trinket and basically shape your rock around it, adding more dough to cover exposed parts of the toy.

4. You can air dry these for several days OR bake them on a cookie sheet at 150 degrees for about 15-20 or until you poke them and they arent soft anymore.
(My dino eggs were fairly large, so I baked them for about 45 minutes)


Here are the Dinosaur Eggs from my Dinosaur Themed Playdate
I arranged them in a "nest"


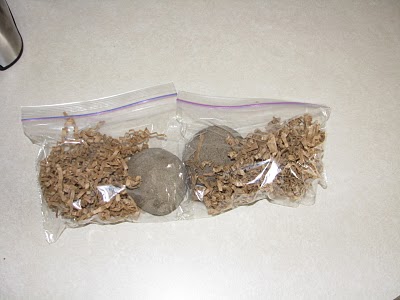
The kids took them home in plastic baggies


Pictures of my son opening his "Dinosaur Egg"


Here's a few pictures that some of my friends from our
 Dinsoaur Themed Playdate sent me of their kids opening their egg


"M"


Its a baby dinosaur!


"G"


Its a diamond!


Follow Play Create Explore on Pinterest!
Follow Me on Pinterest
More Ways to Follow the Fun!


Sunday, September 5, 2010

Homemade Puzzles


L and I have been making our own puzzles! I'm kind of addicted to them at the moment, so I plan to make many more! They are so easy, and L can help with a few of the steps. These are great to make as gifts, or to just whip a few extra up to keep as a suprise as an emergency boredom buster!

what you need
Craft Sticks
Modge Podge
picture or printed coloring page (on thicker cardstock paper)

what you do

1. Chose your picture and print it on thicker cardstock paper. If you chose a coloring page, your child can color it first which makes it more fun!

2. Cut it out

3. Lay out enough craft sticks to fit your picture on. My printers ink was low which is why we have a blue and green dinosaur. I kinda like it though :)


4. Modge Podge the back of your picture and then carefully lay it on your sticks.
 Be sure to keep your sticks orderly.


5. Spread the modge podge very generously over the entire picture to seal it, then let it dry. It usually dries in an hour or so.


Adult only Step!
6. After it's completely dry, use an exacto knife to carefully cu
t between the lines of each stick. Do this on the BACK of the puzzle so you keep a straight line.


These are the ones we've made so far.  Numbering them only adds to the play and learn element.


Follow Play Create Explore on Pinterest!
Follow Me on Pinterest
More Ways to Follow the Fun!

Tuesday, August 31, 2010

Edible Berry Painting


I recently made homemade paint with Pokeweed, the color of Pokeweed Ink is amazingly beautiful, but L cannot paint with it because it's toxic. This inspired me to let him make his own paint with edible berries. When he gets older we can experiment with this activity a bit, but for now we kept it super simple.

I let L smash some strawberries, blueberries, and blackberries.
 I added a little cornstarch and water to thicken it up a bit.
Then I let him go at it!


mmmmm yummy!


Linking up at


Follow Play Create Explore on Pinterest!
Follow Me on Pinterest
More Ways to Follow the Fun!

ShareThis1