Showing posts with label messy art. Show all posts

Wednesday, December 15, 2010

Pretend Cooking and Baking: From Dinner to Dessert


Since L was a baby, i've always had him in the kitchen with me while I cook. He would sit on the counter in his carrier and I would describe everything I was doing. When he was one, we started pretend cooking with different kinds of noodles and bowls. Gradually it has become more involved and elaborate and it's also become one of his favorite things to do. True it can be messy, but if know me or if you've followed my blog for any length of time you may know that my philosphy is
"Life is messy. Get over it...and let your kids have fun!"


The setup

Noodles, spices, tea bags, oatmeal, rice, dried corn, birdseed, dried orange slices, etc.

Washed and dried egg shells

A bowl or two of water is really the highlight and magic of the whole thing.
It allows them to mix things, experiment, and really feel like they are cooking!

His delicious soup which he called "ornament soup"


Dessert
Cupcakes were on the menu for dessert!
I gave L a new muffin tin with some baking ingredients
(sprinkles, salt, flour, spices, etc)
and some playdough to serve as our DOUGH...naturally.


I then gave him cupcake tins and he knew right away what to do with his dough!
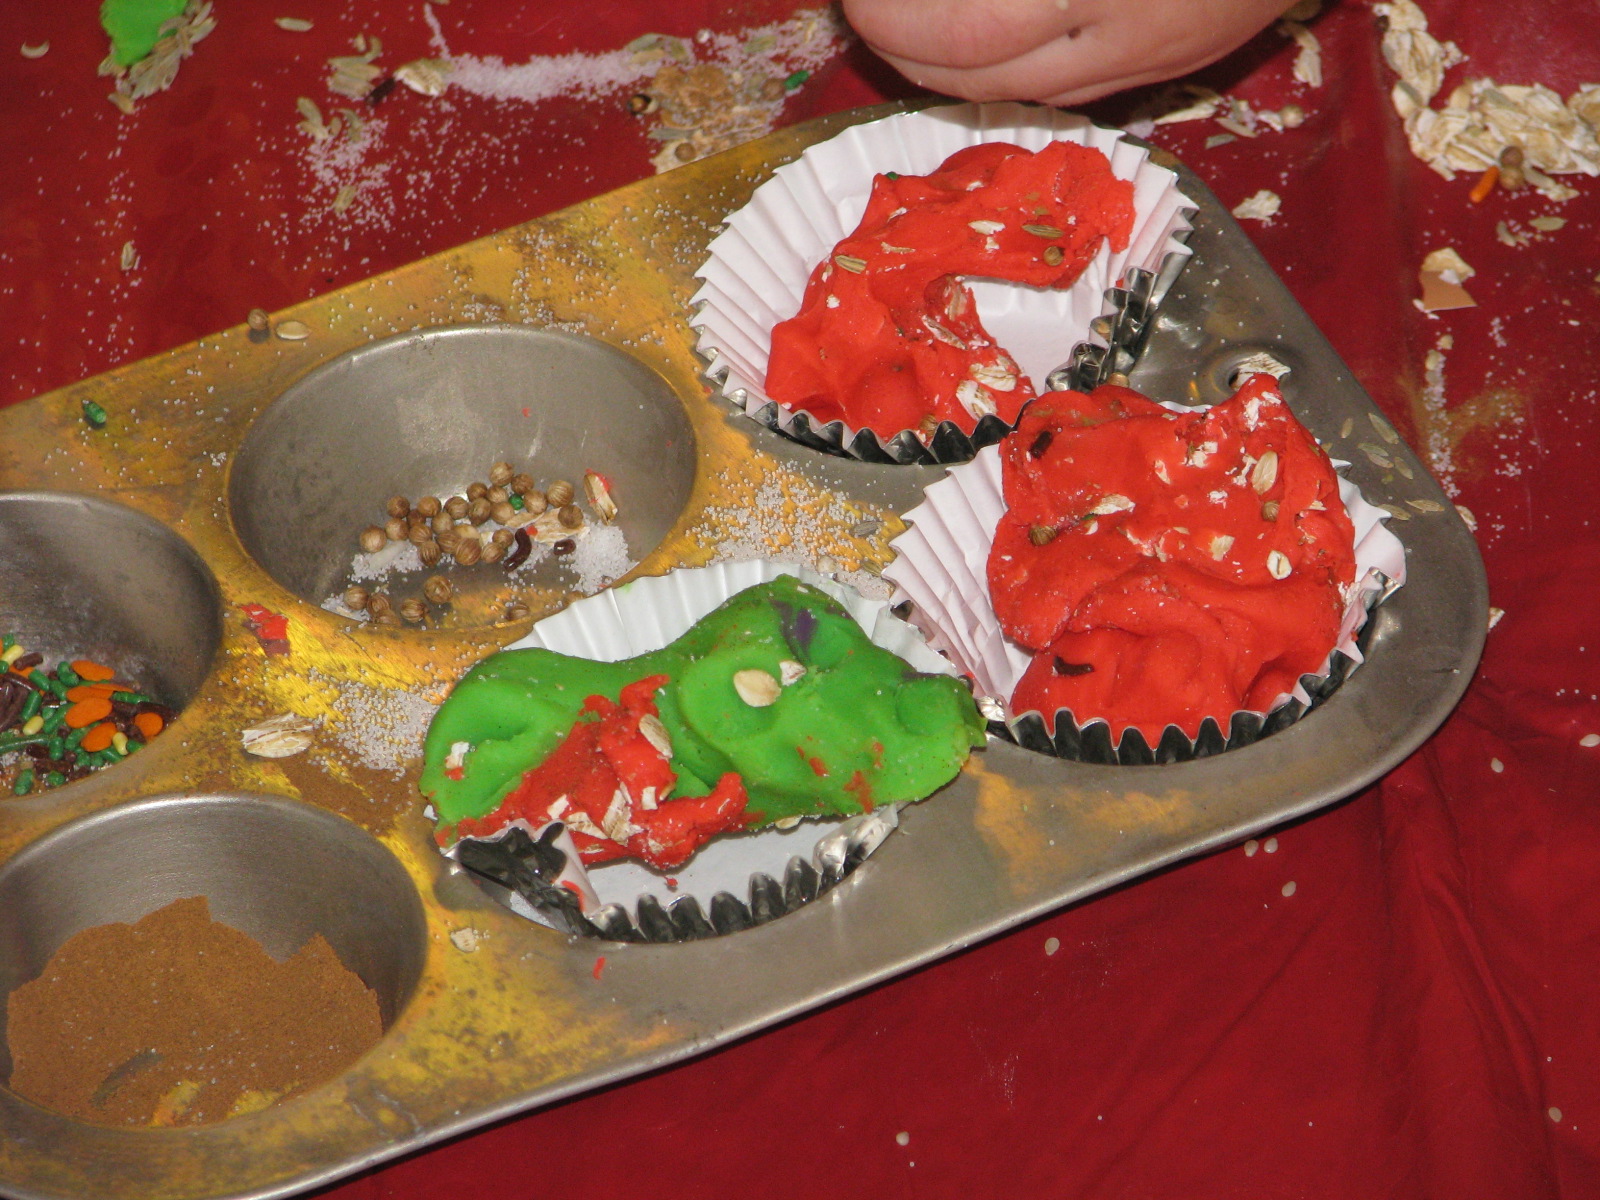

Then it was time to bake them!
I put the whole thing in the oven and we counted to 10.
ding ding ding! (literally I said "ding ding ding")
They're done!
Oh man he was sooo excited!
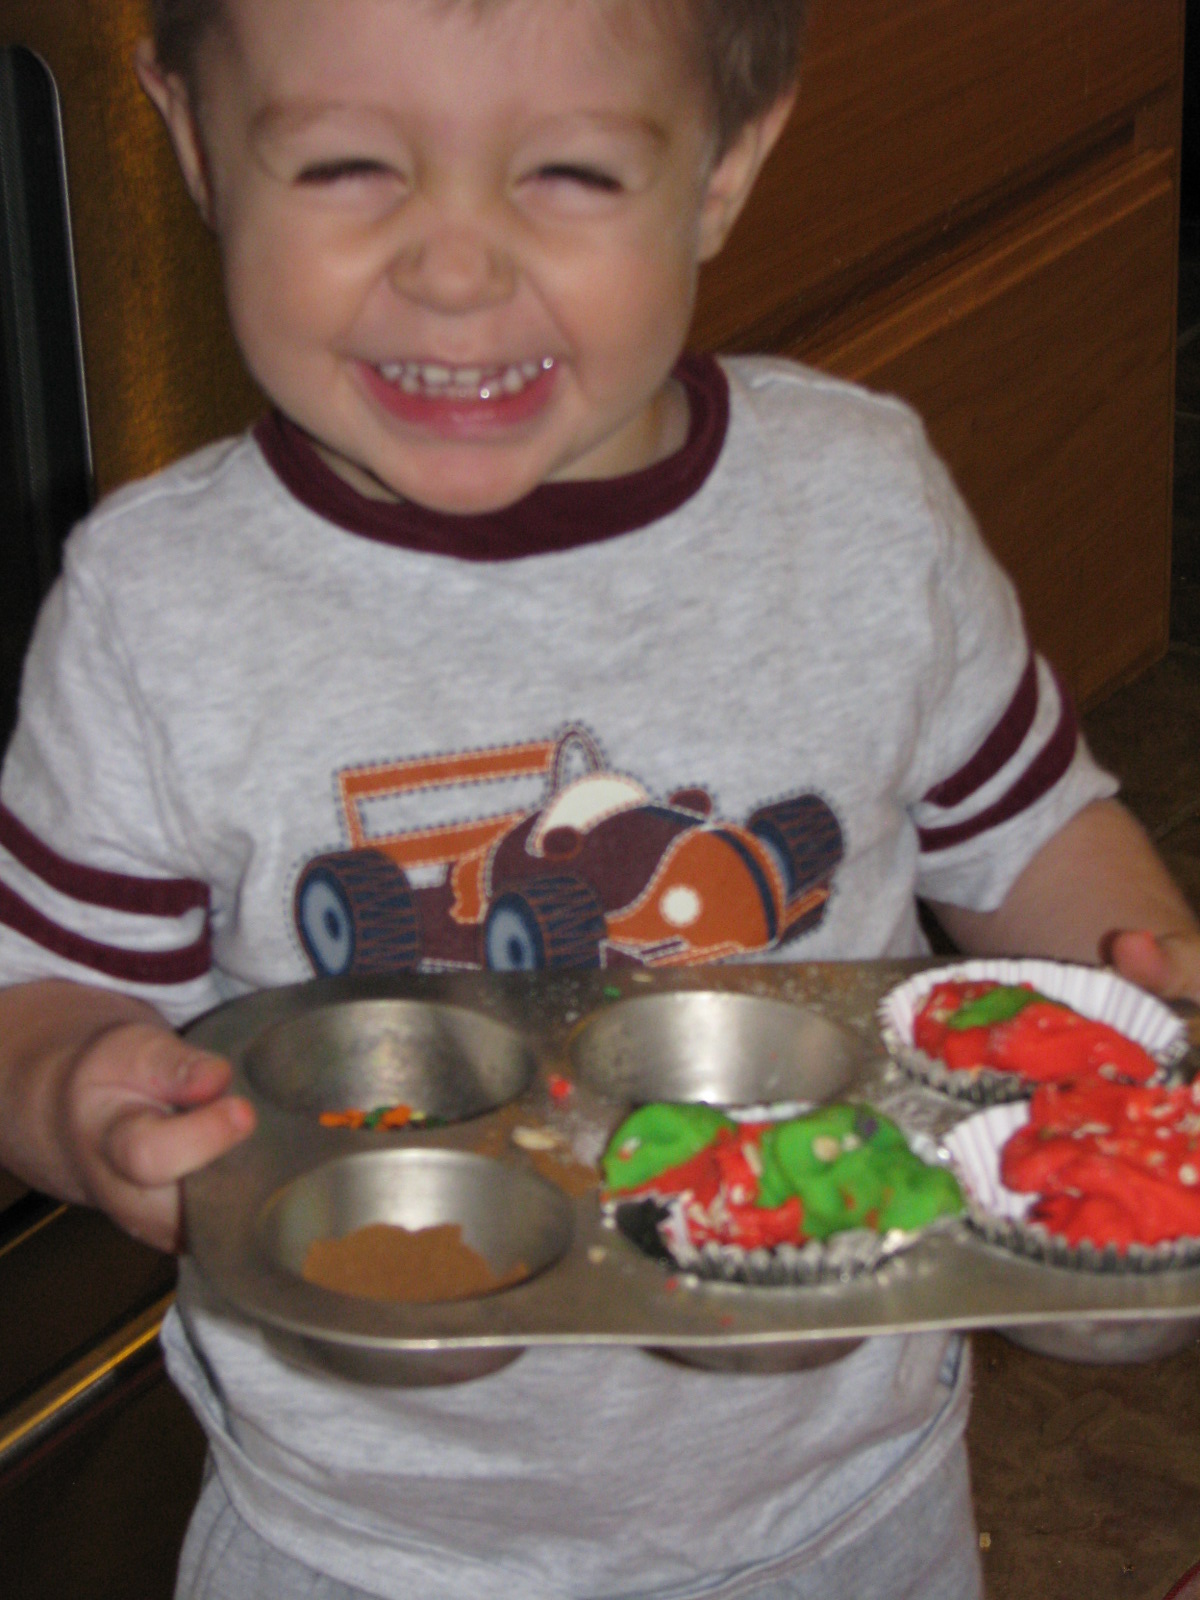


Now it's time for the whip cream!
(a squeeze bottle full of shaving cream)


and of course, who could resist tasting them at this point...

Think he liked it?
haha!
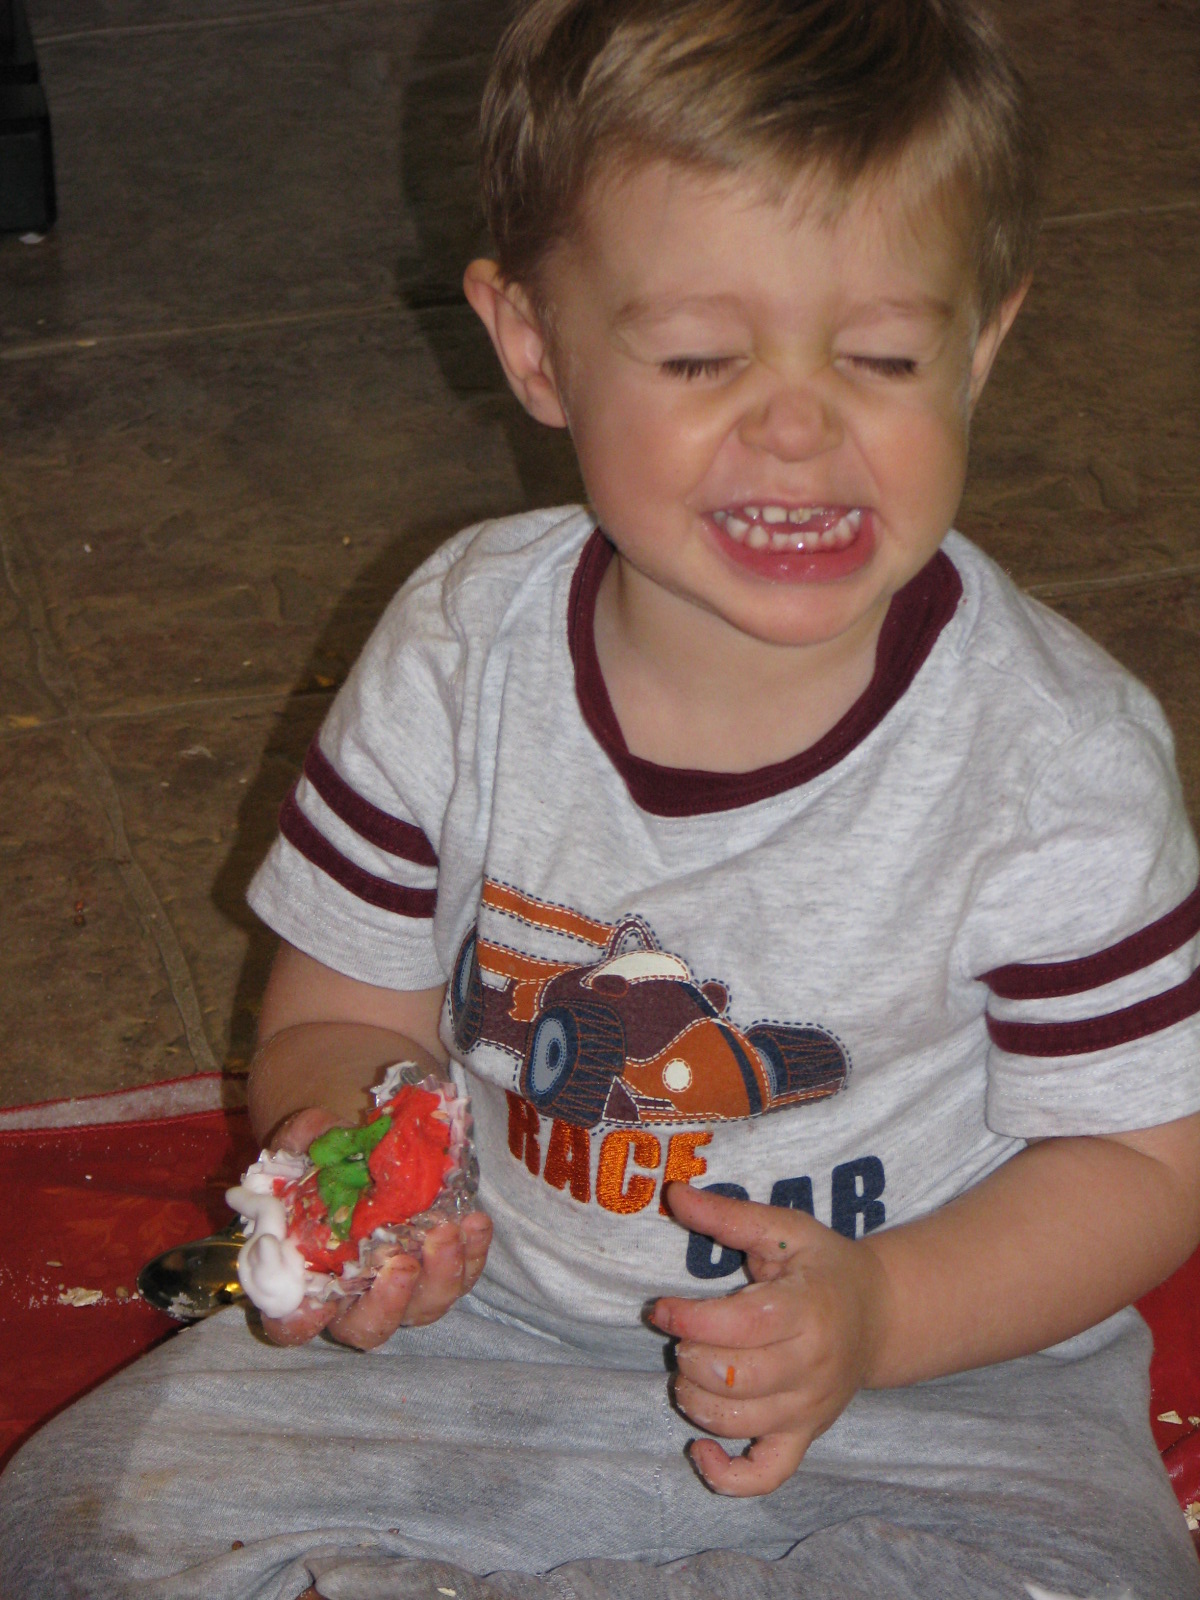

But he sure was proud of his cupcakes!

Looks good enough to eat! Right? errrr...
haha!


As you can see, L had tons of fun! Not only is it fun, but with all the textures and smells,  it's quite a sensory experience for kids as well. If your still cringing about the mess, seriously...it wasn't bad at all to clean up. Plastic table cloths are a swear by item for messy projects and it really does make clean up super simple.


Linking up at


Follow Play Create Explore on Pinterest!
Follow Me on Pinterest
More Ways to Follow the Fun!
Monday, November 29, 2010

Christmas Themed Shaving Cream Sensory Bin


Pin It


I can only go a few days without some good ole fashioned messy fun with L.
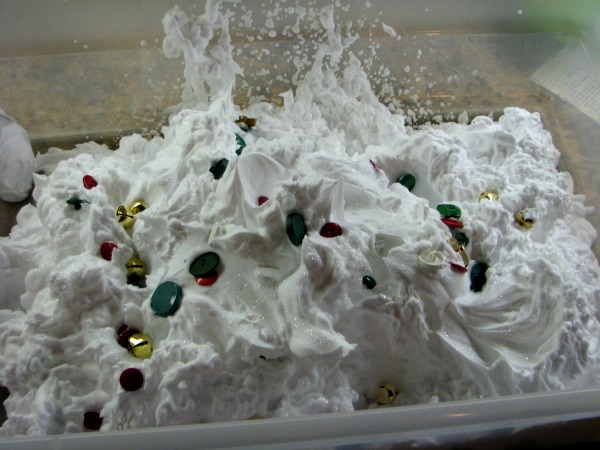
I've been wanting to do a Christmas themed sensory bin, but because we love messy projects and it had been a few days since our last one, I brought out the shaving cream as a little twist.


Started with a plastic tub of shaving cream (2 cans)


First I added a bit of white glitter and peppermint extract so it sparkled like snow,
and smelled like Christmas!


I sprinkled a few jingle bells and Christmas buttons then mixed them in for suprise finds.
You can mix in lots of different Christmas decor that can easily be washed off and used again, such as bows and shatterproof ornaments!


I put down a plastic table cloth and  then I let him free to play!
I gave him some red and green glitter to add and mix as he pleased.


Children really love having a bucket of water to clean their hands. It also serves as part of the fun.
L made Christmas Soup!  He also used the water to clean off his Christmas Treasure that he'd find in the shaving cream.


Follow Play Create Explore on Pinterest!
Follow Me on Pinterest
More Ways to Follow the Fun!


Thursday, August 5, 2010

Baked Cotton Balls


Pin It
 
Yes, you can BAKE cotton balls, and they are awesome!

Another idea from MaryAnn Kohl's book "Art with Anything". I thought this was just such a cool idea and so easy to whip up in a few minutes. These are cotton balls covered with a flour/water mixture and baked in the oven! They come out looking like rocks but are in fact "light as a cotton ball!"
My mom said they look like "dinosaur poop" so we've called them that too.


what you need
1 cup flour
1 cup water
cotton balls
food coloring (optional)

what you do
1. combine and mix the flour and water
I added a little extra water because it was pretty thick

2. Pour mixture into separate bowls (if you're going to make different colors)

3. Add food coloring OR use as is. (you can paint them after they are baked)


4. Dip your cotton balls into the mixture.
Fully coat them and then place on a greased cookie sheet.


5. Bake for 45 minutes-an hour at 300 degrees


TADA!


you can also make them touch on the cookie sheet and they'll bake together to form whatever shape you arranged them in! I experimented with this myself.


It's  lots of fun to break them open after they are baked because they have that hard shell so they CRUNCH but they are still all cottony soft inside!


you don't actually NEED a hammer to break them. You can step on them and break them. But since we have a soft head hammer I thought he'd have fun doing it this way.


oooo whats in there?


If you liked this activity, you may also enjoy...


Follow Me on Pinterest

More Ways to Follow the Fun!


ShareThis1